Last updated November 18, 2026








Free written scope consultation - allowances, timeline, and change-order rules on paper before a single trade is scheduled
Bathroom Remodeling Troubleshooting: Common Problems and How to Fix Them
The gap between the tub and the tile wall isn’t supposed to be grouted. It’s supposed to be caulked, and every bathroom that’s grouted there will show a crack within 18 months. It’s one of the most common mistakes in bathroom remodeling and one of the easiest to catch before the job is done.
We’ve walked into enough Boulder City bathrooms after someone else’s remodel to know the pattern. The problems that come back to bite you are rarely exotic. They’re the predictable four: grout that should have been caulk, drains that slow down weeks after the tile is set, vents that were never run to the outside, and a shower that was never leak-tested before the grout went down.
This guide is written for the homeowner who wants to know what to look for during the job, not after it. By the end, you’ll know exactly where to put your eyes on a walkthrough, which questions to ask before drywall closes, and what your written guarantee should actually cover.
Quick Answer
Most bathroom remodel failures trace back to four preventable problems: grout used where caulk belongs at plane changes, slow drains caused by debris left in the trap or P-trap assembly, bathroom fans vented into the attic instead of outdoors, and showers never water-tested before grouting. You can catch all four during the build by inspecting the tub-wall joint, watching the drain flow before the fixtures go in, confirming where the fan duct terminates, and asking for a leak test before grout.
Styles & brands we work with
- Kitchen remodeling
- Bathroom remodeling
- Home additions & ADU
- Roofing
- Windows & doors
- Driveway & pavers
- Fence
Table of Contents
- The Grout-vs-Caulk Rule at Every Plane Change
- How to Test a Shower for Leaks Before Grouting Begins
- What a Slow Drain After a Remodel Really Means
- How to Spot an Improper Bathroom Vent Before Drywall Closes
- Boulder City Climate, Water, and What It Does to Bathrooms
- What Your 365-Day Guarantee Should Cover for Bathroom Work
- A Pre-Close Walkthrough Checklist You Can Use
The Grout-vs-Caulk Rule at Every Plane Change
Grout is rigid. Your house is not. Every time two surfaces meet at a different plane (the wall meeting the floor, the tub meeting the tile, the shower curb meeting the wall), those two surfaces move slightly with temperature swings and normal use. Grout cracks at that seam because it can’t flex. Caulk can.
The rule is straightforward: any joint where two planes meet gets flexible caulk, not grout. Flat tile-to-tile joints on the same plane get grout. That’s it. It’s not a preference or a style choice.
Here’s the problem we see over and over in Boulder City bathrooms. A crew grouts the entire shower because it’s faster and looks finished the same day. Eighteen months later, there’s a hairline crack at the tub-wall joint, water gets behind the tile, and the repair is no longer a caulk job. It’s a tear-out.
How to check it during your walkthrough:
- Run your finger along the joint where the tub or shower pan meets the wall tile. It should feel slightly rubbery and give a little. If it’s hard and gritty, it’s grout.
- Look at the inside corners of the shower walls. Same test. Slight flex means caulk.
- Check the joint between the shower curb and the bathroom floor. That’s a plane change too.
- If the crew already grouted a plane change, ask them to cut it out and redo it with 100% silicone caulk before you sign off. It’s a 30-minute fix now and a several-thousand-dollar fix later.
This is one of the reasons we walk every bathroom job with the homeowner before the crew leaves, and it’s baked into how we run bathroom remodeling in Boulder City. The joint check is on the final punch list, not left to a callback six months later.
How to Test a Shower for Leaks Before Grouting Begins
A responsible contractor tests the shower pan for leaks before grout goes down. This isn’t optional or overkill. It’s the single cheapest moment in the entire project to find a leak, because the substrate is still exposed and the tile hasn’t been set. After grout, finding a leak means demolition.
The test itself is simple. The pan is filled with water to the top of the curb and left to sit for a set period. If the water level drops (accounting for evaporation) or if moisture shows up below the pan or on the ceiling of the room underneath, there’s a problem with the waterproofing membrane or the pan itself.
A few things to ask before the tile goes in:
- Was a flood test performed on the shower pan, and how long did it sit? A real test runs long enough to reveal a slow failure, not a quick splash.
- What waterproofing system did you use behind the tile? A bonded sheet membrane or a liquid-applied membrane over cement board substrate (the moisture-resistant layer behind your tile) are both legitimate. A bare green board with mastic is not, and in a wet area it will fail.
- Was the pre-slope built under the pan liner? Without a pre-slope, water pools on the flat subfloor under the liner and eventually works its way into the framing.
If your contractor looks at you funny when you ask about a flood test, that’s information. In our experience, the crews that do this automatically are the ones whose showers are still dry five years later. If they don’t, ask them to. A written price and a written guarantee don’t mean much if the shower was never tested.
What a Slow Drain After a Remodel Really Means
A slow drain after a bathroom remodel usually means one of two things: construction debris (grout, thinset, tile dust) made its way into the trap or the drain assembly during the build, or the drain was never properly cleared after the fixtures went in. It’s rarely a mystery, and it’s rarely a plumbing failure underneath your slab.
The fast diagnosis:
- Remove the drain stopper and look down the drain with a flashlight. Grout haze and thinset crumbs are usually visible right at the top.
- Run hot water for a few minutes. If flow improves slightly, you’re dealing with debris, not a structural issue.
- If you have a trap primer or a cleanout access, have it checked before anyone snakes the line.
- If the drain was slow before the remodel (not after), it’s a pre-existing issue and not a callback.
This matters for the callback question. A drain that was fine before the remodel and slow after is the contractor’s responsibility. A drain that was already slow, or that got blocked because a sponge full of grout got rinsed into it by the homeowner, is not. Knowing which one you’re dealing with saves you an argument and a service call.
If the drain is genuinely clogged with construction debris, the fix is a proper auger run from the trap, not a bottle of chemical drain cleaner. Chemicals can damage the finish on a new fixture and won’t break up cured thinset anyway. Best practice: keep a rubber drain plug in the shower and tub openings for the entire project, and pull it only when the tile and grout are fully cured.
How to Spot an Improper Bathroom Vent Before Drywall Closes
Bathroom exhaust fans that vent into the attic instead of outdoors are one of the most common shortcuts in residential remodeling, and one of the most expensive to fix later. Moisture gets dumped into the attic, condenses on the roof sheathing, and eventually causes mold and rot. It also voids a lot of roof warranties, including on products from CertainTeed and Owens Corning.
You can catch this before the drywall closes. Here’s how:
- Follow the duct. From the fan housing, trace the duct. It should run to an exterior wall or through the roof to a proper vent cap. If it terminates in the attic space or is coiled loosely and pointed at nothing, it’s wrong.
- Check the duct type. Rigid metal duct is preferred. Short runs of insulated flex duct are acceptable. Long, sagging runs of cheap flex create condensation and airflow problems.
- Confirm the vent cap on the exterior. Go outside and look. A real vent cap has a flapper or a hood that keeps rain and pests out.
- Check the fan’s CFM rating against the room size. A bath fan should move enough air to exchange the room’s volume several times per hour. Undersized fans let moisture linger and lead to the same failures as no fan at all.
We ask for a pre-drywall walkthrough as a standard step on every bathroom project, because this is exactly the stage where a two-minute check saves a $2,000 drywall and insulation repair. Ask to see where the duct runs. If the answer is fuzzy, push.
Boulder City Climate, Water, and What It Does to Bathrooms
Boulder City sits in the Mojave, and that shapes how bathrooms fail here in ways that a contractor from a wetter climate might miss. Our summers routinely push above 105°F, which drives indoor temperature swings between air-conditioned rooms and unconditioned ones. That swing works on every joint in the house. The tub-wall seam that gets grouted here cracks faster than the same seam in a milder climate.
Our water is hard. Very hard. That’s a real factor in bathroom troubleshooting. Hard water leaves mineral deposits on fixtures, clogs showerheads and aerators, and shortens the life of a tank water heater. Scale also accelerates drain slowdown in the trap and in the fixture’s internal channels, so a shower that was fine at the end of the remodel can start running slow within a year just from mineral buildup, not from construction debris. If you’ve already narrowed the drain problem down to scale, a whole-home softener is worth a conversation, and it’s separate from the remodel.
Our soil shifts, too. Boulder City’s expansive clay soils push on foundations seasonally, and that stress telegraphs up through the walls. Tile floors in older Boulder City homes sometimes show hairline cracks in the grout after a wet winter, even when nothing in the remodel was done wrong. It’s a good reason to use a proper uncoupling membrane under tile floors here rather than setting directly to the slab.
None of this means a Boulder City bathroom is doomed to fail. It means the details matter more here than they do in a stable climate. If you’re planning a project and want to understand how the whole job gets sequenced, our page on the general contractor in Boulder City role covers how these decisions get made before the first tile is set.
What Your 365-Day Guarantee Should Cover for Bathroom Work
Your written guarantee should specifically cover water intrusion and mold caused by defects in the work, not just visible finish failures. That’s the difference between a guarantee that sounds good and one that actually protects you. Water damage is the expensive failure in a bathroom, and it almost always shows up months after the job is done, not the day the last tile is set.
Here’s what a real guarantee on bathroom work should include, in writing:
- Grout and caulk failures at plane changes within the first year, including cracks at the tub-wall joint and shower curb.
- Water intrusion originating from the shower pan, shower walls, or tile-to-tub transition where the work caused it.
- Mold growth in the wall cavity or subfloor attributable to improper waterproofing or ventilation installed during the project.
- Drain performance if the slowdown is traced to construction debris rather than homeowner use or pre-existing conditions.
- Vent installation if the fan duct was terminated incorrectly (into the attic instead of outdoors) and caused moisture damage.
- Fixture and material defects, handled alongside the manufacturer’s own warranty.
The Penhallow 365-Day Done Right Promise covers this: if the work fails inside the guarantee period, we come back and fix it at no charge, and the terms are in writing on every project. We install Kohler and Moen fixtures, and Cambria, Silestone, or Caesarstone surfaces where they apply, each of which carries its own manufacturer coverage that sits alongside ours. Two layers of protection is better than one.
Ask any contractor for the guarantee in writing before work starts, and read the specific line about mold and water intrusion. If it’s vague, that’s your answer.
A Pre-Close Walkthrough Checklist You Can Use
The smartest thing a homeowner can do is walk the job at the exact stage before drywall closes. It’s the point of no return for most hidden systems, and it’s your best shot at catching the four failure modes this guide covers. Schedule it. Walk it with the crew lead. Bring this list.
- Trace the exhaust duct. Confirm it runs to the exterior and terminates at a proper cap. Look with your own eyes. Do not accept a verbal answer.
- Inspect the shower waterproofing. Ask what membrane was used and confirm it covers the floor, the walls up to the showerhead height, and the curb.
- Confirm the flood test on the pan was done. Ask when, for how long, and what the result was.
- Look at the framing gaps around plumbing penetrations. Holes where pipes pass through studs and plates should be sealed, not left open, so air and moisture don’t migrate through the wall.
- Check the cement board substrate (the moisture-resistant layer behind your tile). It should be fastened correctly and sealed at seams, not replaced with standard drywall in the wet zone.
- Confirm the fan CFM matches the room size, and the duct run is short and straight.
- Photograph everything before drywall goes back up. A dated photo of the wall cavity is worth more than a receipt if something fails down the line.
If you want to see how this kind of walkthrough fits into a full project scope, our page on kitchen remodeling in Boulder City covers the same pre-close discipline on the kitchen side, since the two rooms share a lot of the same moisture and ventilation logic. You can also see the full scope of what we do from our Penhallow Remodeling Boulder City home page.
Common Mistakes to Avoid
- Grouting any plane change. Every joint where two planes meet should be caulked, not grouted. In Boulder City’s temperature swings, a grouted tub-wall seam cracks within 18 months almost like clockwork.
- Skipping the shower flood test. Tile set over an untested pan is a gamble you don’t want to take. If your contractor skips it, ask why.
- Venting the bath fan into the attic. It dumps moisture into the framing and roof deck. Trace the duct yourself before drywall closes.
- Using standard drywall in the wet zone. Cement board or a proper waterproofing membrane behind the tile is non-negotiable in a shower or tub surround.
- Ignoring hard water. Boulder City water is hard, and unsoftened water will scale up showerheads, aerators, and older fixtures faster than you’d expect. Factor it into fixture choice and maintenance.
- Accepting a verbal guarantee. Ask for the guarantee in writing, with the specific mold and water intrusion clause spelled out. Vague guarantees don’t cover anything.
- Paying in full before the walkthrough. Hold final payment until you’ve done the pre-close inspection with your own eyes. Written price and written guarantee are leverage only while the job is still open.
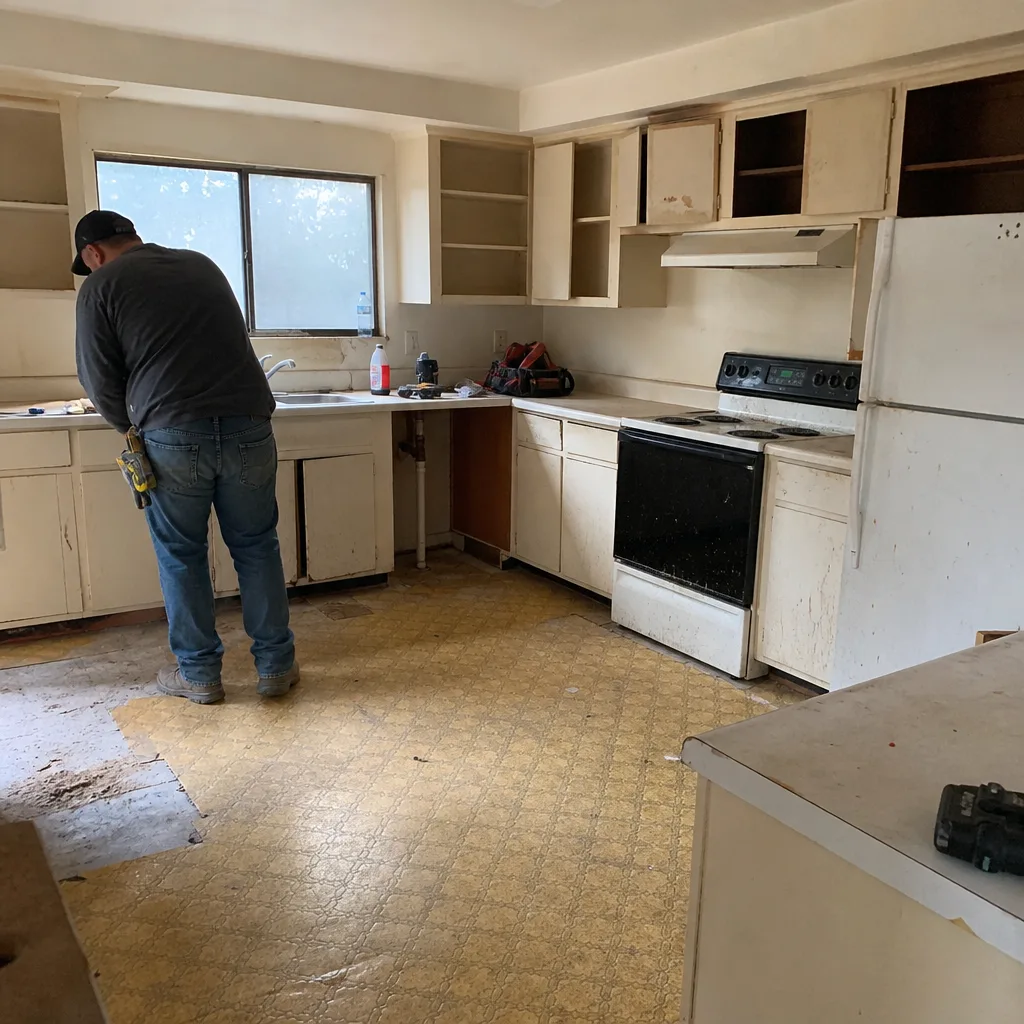
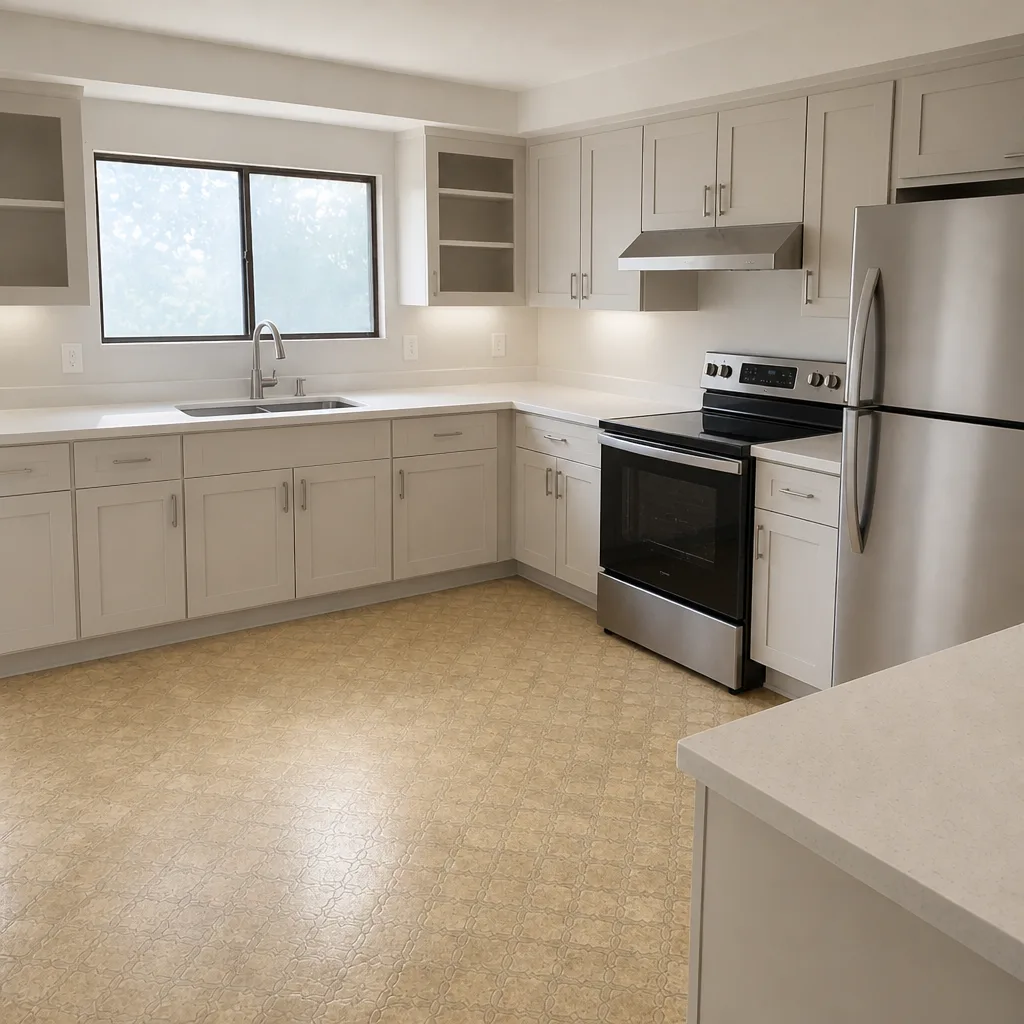
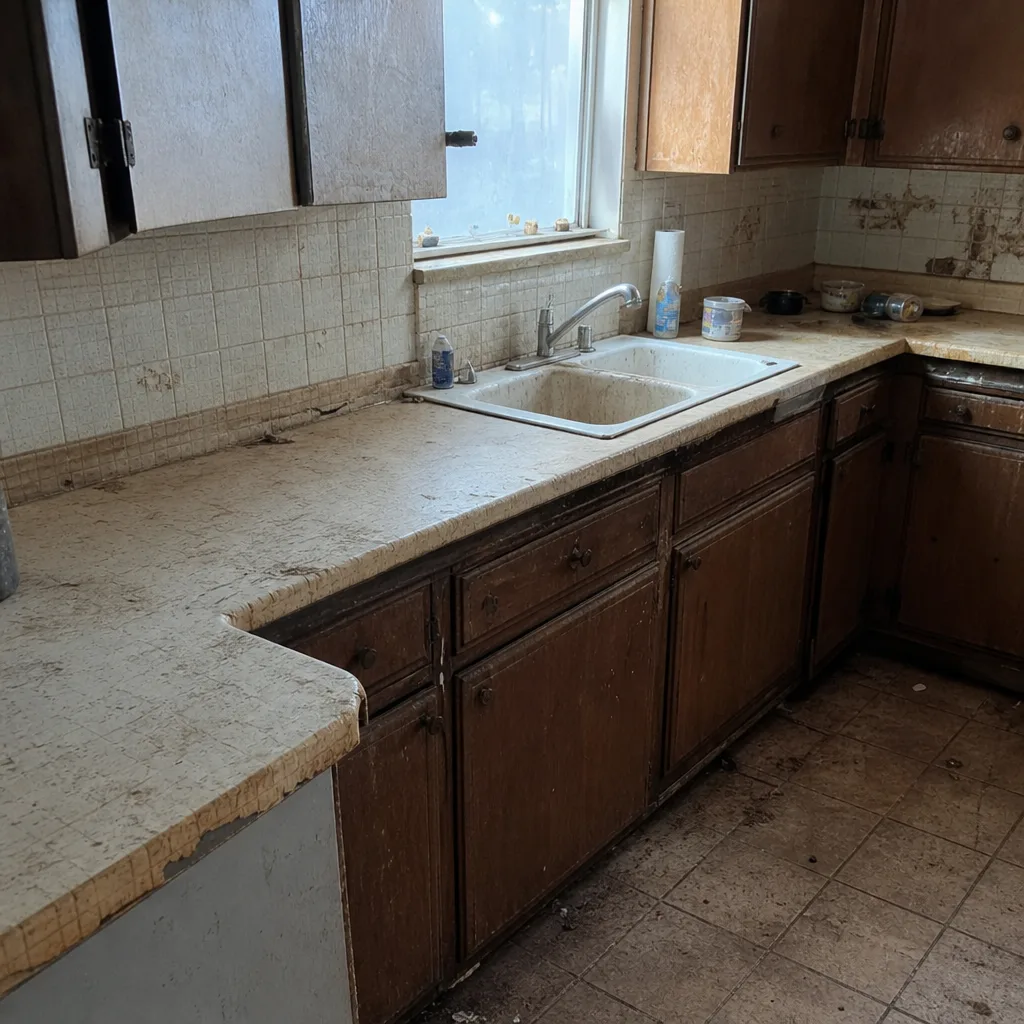
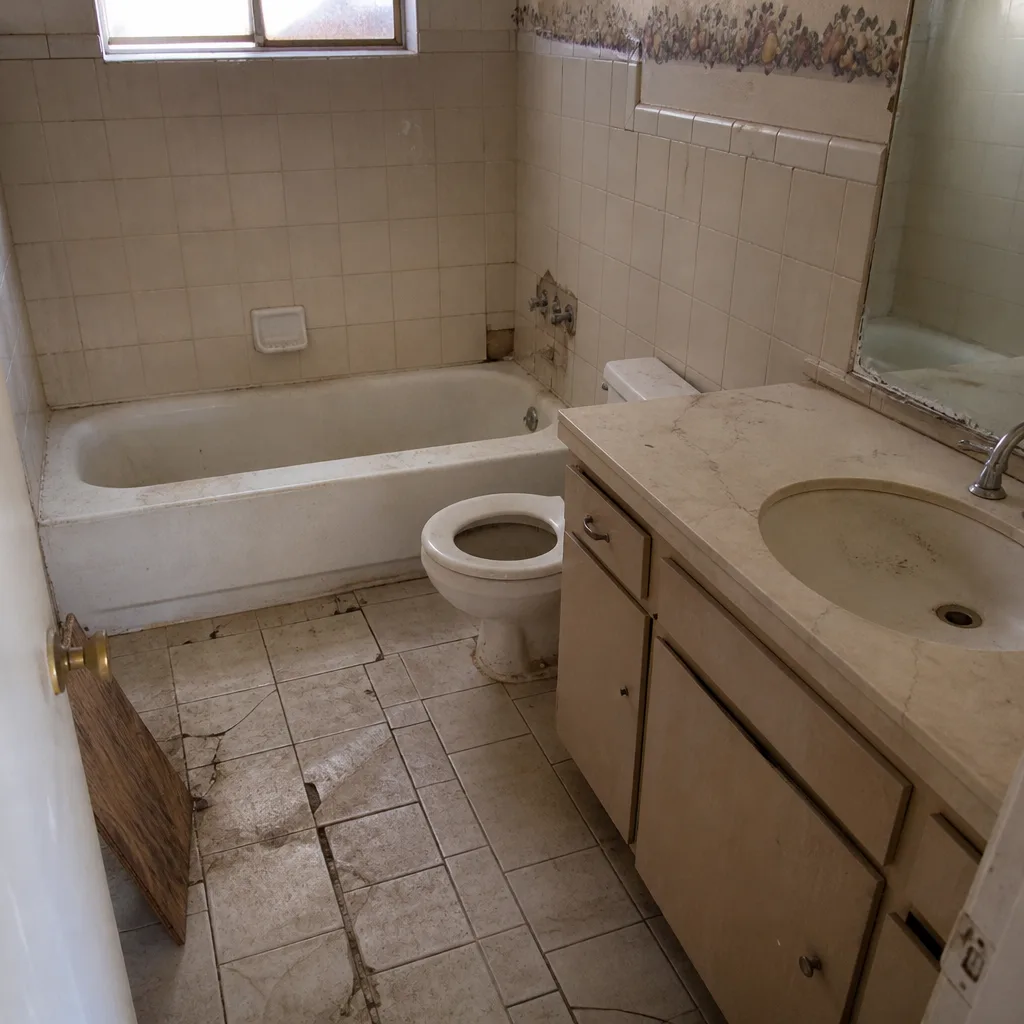
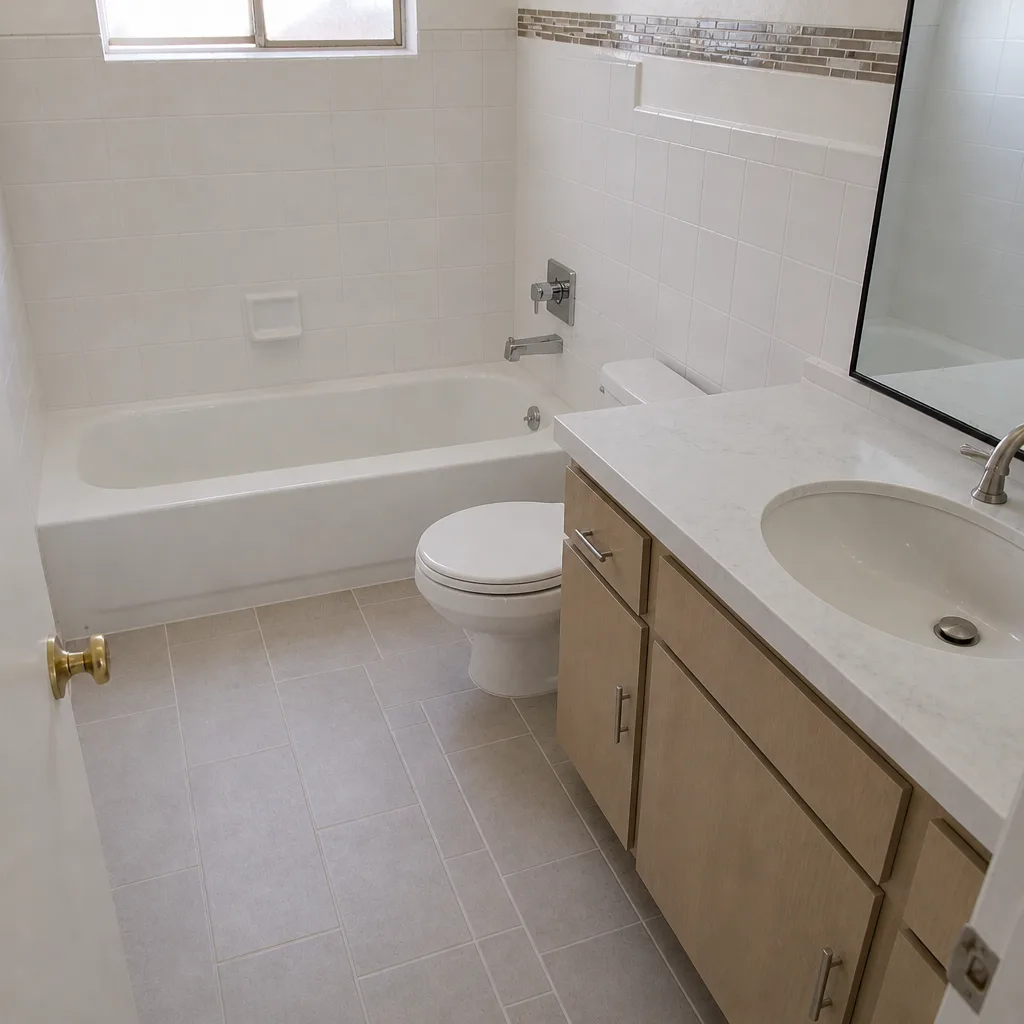
See the difference
 Before
 After
 Before
 After
 Before
 After
When to Call a Professional
Some bathroom problems are genuinely homeowner fixes: a reseal of caulk at the tub-wall joint, a drain stopper that needs clearing, a slow showerhead that just needs scale removal. But other problems should not be touched by a homeowner, and one of them matters more than any other.
If you suspect water has gotten behind the tile or into the wall cavity (a soft spot around the shower curb, a spongy baseboard, a fresh mold smell that wasn’t there before), stop and call. Moisture in the wall is a hidden-problem category. By the time it’s visible, the repair has usually gone from a reseal to a tear-out and rebuild, and the longer it sits, the more the framing and insulation add to the bill.
The second category to hand off is anything involving electrical work behind the fan or lighting, and anything requiring plumbing inside the wall or slab. Those you want a licensed pro handling, both for safety and for permit and inspection reasons.
Penhallow Remodeling Boulder City offers free estimates in Boulder City. Call (844) 834-9740 and we’ll walk you through the problem and give you a written number up front. There’s a live person answering that line, not a voicemail prompt, and the written price you get on day one is the number on the invoice.
Frequently Asked Questions
A shower pan repair in Boulder City typically runs $2,400 – $6,800 depending on whether the tile has to come out and whether the substrate behind it is salvageable. A fresh leak caught early with the tile intact costs toward the low end. A pan that’s been leaking for a year and has rot in the framing costs toward the high end. Call (844) 834-9740 for a written estimate with the scope spelled out before any work starts.
Almost always construction debris, either in the trap or the drain assembly. Grout and thinset crumbs left in the drain are the most common cause. A backlog of mineral scale can also cause slowdown, especially with Boulder City’s hard water, just because the fixture is new and hadn’t collected scale yet. Pull the stopper, shine a light down the drain, and look for gray or white crumbs. If you see them, call the contractor. That’s a callback and should be handled at no charge inside the 365-day window.
Caulked, always, with a flexible 100% silicone caulk. Grout is rigid and the tub and wall move independently, so a grouted joint cracks within 18 months, often sooner in a climate with wide indoor temperature swings. If your contractor grouted that joint, ask them to cut it out and redo it with caulk before final sign-off.
The duct runs outside, not into the attic. Trace it yourself before the drywall closes. Ask for the CFM rating of the fan and compare it against the room’s volume. The exhaust run should be short, straight, and insulated if it passes through an unconditioned space. If the duct stops in the attic or is a loose coil of flex duct, it’s wrong and needs to be corrected before drywall goes back up.
At a minimum: grout and caulk failures at plane changes, water intrusion from the shower pan or tub surround caused by the work, mold growth attributable to improper waterproofing or ventilation, and drain performance if the slow drain traces to construction debris. The 365-Day Done Right Promise covers all of these in writing, and we come back and fix it at no charge if it fails inside the window. Ask for the guarantee language in writing before work starts. Call (844) 834-9740 for a free estimate.
Not with a written price. The number you’re given before any work starts is the number on the invoice, and no change orders get added mid-project unless you specifically approve a scope change. Verbal estimates are what balloon after demo day; written prices don’t. Our technicians have up to 22 years of experience, and they know what a Boulder City bathroom actually needs before the first cabinet comes out. Call (844) 834-9740 to schedule a free estimate.
The Bottom Line
Nine out of ten bathroom remodel callbacks trace to four fixable problems: grout where caulk belonged, a shower that was never leak-tested, a drain full of construction debris, and a fan vented into the attic. All four are catchable at the pre-close walkthrough if you know what to look for. The tub-wall joint should feel rubbery, not gritty. The shower pan should be flood-tested before grout. The drain should flow freely the day the fixtures go in. The fan duct should end outdoors, at a real vent cap. Get the written guarantee, read the mold and water intrusion clause, and hold back final payment until you’ve walked the job yourself.
Written by the team at Penhallow Remodeling Boulder City.
Every Penhallow project starts with a written price and a written guarantee, and ends with a 365-Day Done Right Promise to come back and make it right if anything fails. Our technicians are background-checked, arrive in uniform, and work to The Kingswell Way: say the price before the work, show up in the window we gave, leave the place cleaner than we found it. A live person answers the phone 24/7. If you’re planning a Boulder City bathroom project and want a real number instead of a ballpark, call (844) 834-9740 for a free estimate.